
- Prepare the Crust: In a medium bowl, combine the graham cracker crumbs, granulated sugar, and melted butter. Mix until the crumbs are evenly coated and the mixture starts to clump together.
- Assemble the Crusts: Spoon the graham cracker mixture into the bottoms of mini cheesecake pans, tart pans, or a muffin tin. Use the back of a spoon or your fingers to press the mixture firmly into the bottoms to create a solid crust layer. Chill in the refrigerator for at least 30 minutes to set.
- Make the Cheesecake Filling: In a large mixing bowl, beat the softened cream cheese with an electric mixer until smooth and creamy. Gradually add the powdered sugar and vanilla extract, mixing until fully combined. Add the sour cream (if using) and mix again until smooth.
- Whip the Heavy Cream: In a separate bowl, beat the heavy cream with an electric mixer until stiff peaks form. Carefully fold the whipped cream into the cream cheese mixture until well combined. This will give the cheesecake filling a light, airy texture.
- Fill the Cheesecakes: Spoon or pipe the cheesecake filling into the chilled graham cracker crusts. Smooth the tops with a spatula or back of a spoon. Refrigerate the mini cheesecakes for at least 4 hours, or preferably overnight, to allow them to set and firm up.
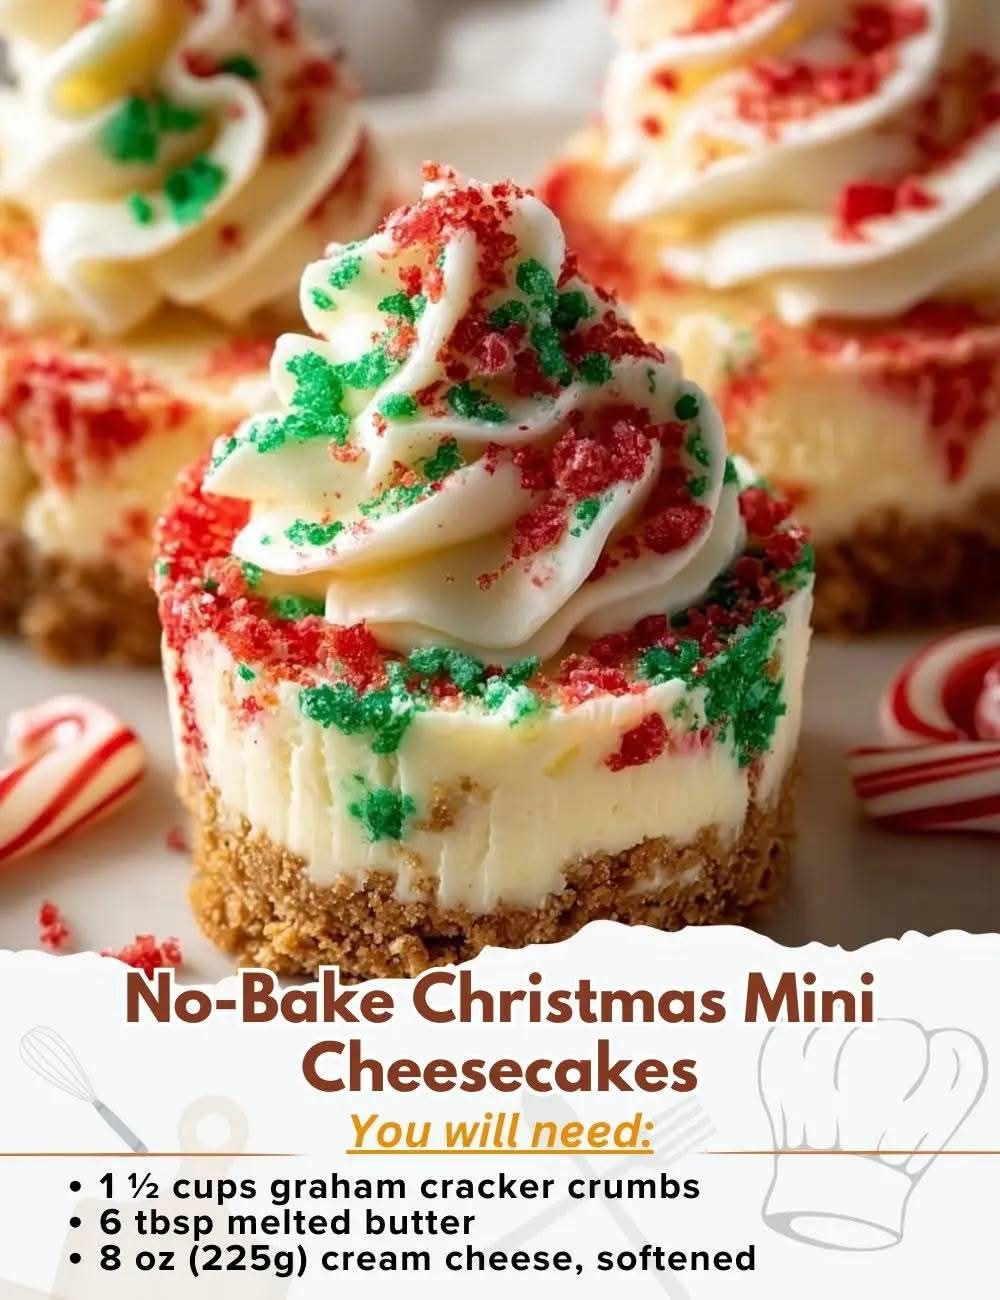
- Decorate the Cheesecakes: Once the mini cheesecakes are set, top them with fresh berries, whipped cream, a drizzle of caramel or chocolate sauce, and festive sprinkles or edible glitter for a holiday touch.
- Serve: Serve the mini cheesecakes chilled for the perfect creamy, indulgent treat. Enjoy the festive flavors with your family and friends!
Serving and Storage
Serving Suggestions
- Serve these **No-Bake Christmas Mini Cheesecakes** at your next holiday gathering or Christmas party for a sweet, festive treat!
- For an extra special touch, serve them alongside hot cocoa, tea, or coffee for a cozy dessert pairing.
- These mini cheesecakes can also be served on a dessert table as part of a larger holiday spread, alongside other treats like cookies and cakes.
Storage Tips
- Store any leftover mini cheesecakes in an airtight container in the refrigerator for up to 4 days. The longer they chill, the firmer the filling becomes.
- You can freeze these mini cheesecakes! Wrap them individually in plastic wrap and foil, then freeze for up to 1 month. Thaw in the refrigerator before serving.
Tips
- If you don’t have mini cheesecake pans, you can use a muffin tin lined with paper cupcake liners for a convenient and easy way to serve individual portions.
- To make these cheesecakes even more festive, try topping them with crushed candy canes, pomegranate seeds, or even a drizzle of eggnog-flavored syrup for added holiday flair.
- If you prefer a thicker crust, add more graham cracker crumbs or press the crumbs more firmly into the base of the pans.
Conclusion
These **No-Bake Christmas Mini Cheesecakes** are the ultimate festive dessert! Easy to make and fun to decorate, they’re the perfect treat for your holiday celebrations. With a buttery graham cracker crust, creamy cheesecake filling, and a variety of festive toppings, these mini cheesecakes will add a sweet, indulgent touch to your Christmas festivities. Enjoy making and sharing these delightful treats with your loved ones!
FAQ
Can I make these mini cheesecakes ahead of time?
Yes! These mini cheesecakes can be made a day or two ahead of time and stored in the refrigerator until you’re ready to serve them. In fact, they set better the longer they chill!
Can I use store-bought crusts?
Yes, you can use store-bought mini graham cracker crusts if you’re short on time. Just skip the steps for making the crust and proceed with the cheesecake filling.
Can I use other fruits for the topping?
Absolutely! You can use any fruit you like for the topping, such as strawberries, blueberries, or even tropical fruits like kiwi and mango. Just make sure to drain the fruit if it’s very juicy to prevent the filling from getting soggy.
