
1. Prepare the Dough:
In a large mixing bowl, combine the flour, salt, and instant yeast. Stir to combine. Add the warm water and honey (or sugar, if using). Mix with a wooden spoon or spatula until a sticky dough forms. The dough will be very sticky, which is normal.
2. Knead the Dough:
Cover the bowl with a clean kitchen towel or plastic wrap. Let it sit for 10-15 minutes to allow the flour to fully absorb the water. After this rest, gently turn the dough out onto a lightly floured surface. Knead the dough for 5-8 minutes, folding it over itself and turning it, until it becomes smooth and elastic. If the dough is too sticky, add a little more flour, but be careful not to add too much, as you want the dough to stay hydrated.
3. First Rise:
Transfer the dough to a clean, lightly oiled bowl. Cover it again with a towel or plastic wrap. Let the dough rise in a warm, draft-free area for about 1-2 hours, or until it has doubled in size.
4. Shape the Dough:
After the dough has risen, gently punch it down to release the air. Turn the dough out onto a lightly floured surface and shape it into a round ball or a round loaf. Tuck the edges of the dough underneath to create a smooth top.
5. Preheat the Dutch Oven:
While the dough is resting, place a Dutch oven (with the lid on) into the oven and preheat to 450°F (230°C). This ensures that the Dutch oven is hot when the dough goes in, which is key to achieving that beautiful, crispy crust.
6. Second Rise:
Once your Dutch oven has preheated, carefully take it out of the oven (use oven mitts, as it will be very hot). Lightly flour the bottom of the Dutch oven and place the shaped dough inside. Cover it with the lid and let it rest for 30 minutes. This second rise allows the dough to relax and puff up again.
7. Bake the Bread:
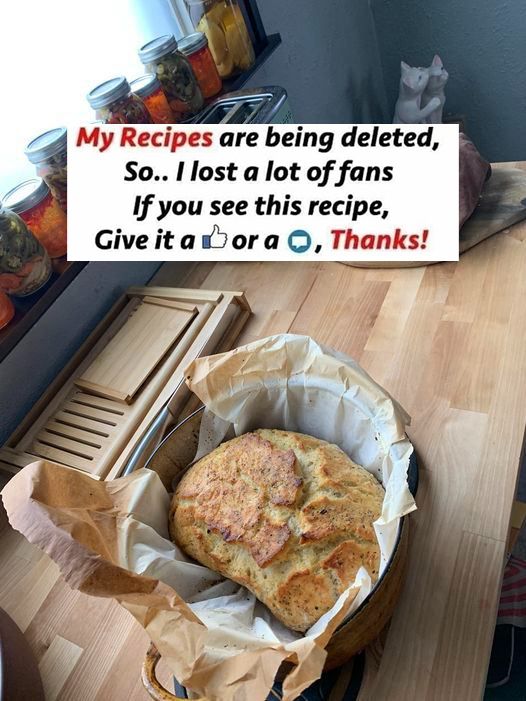
Once the second rise is complete, remove the lid from the Dutch oven. Score the top of the dough with a sharp knife or razor blade to help it expand evenly while baking. Put the Dutch oven back in the oven (uncovered) and bake the bread for 30-35 minutes. The bread should have a deep golden-brown crust and a hollow sound when tapped on the bottom. If you want an even crispier crust, you can leave it in the oven for a few extra minutes.
8. Cool the Bread:
Remove the bread from the Dutch oven and let it cool on a wire rack for at least 30 minutes before slicing. This will allow the bread to firm up and finish cooking on the inside.
Serving and Storage:
This **Dutch Oven Bread** is perfect for sandwiches, toasts, or just enjoyed with a bit of butter and jam. It’s best eaten within the first couple of days, but you can store it at room temperature in a paper bag or breadbox to keep the crust crispy. If you want to store it longer, you can freeze it for up to 3 months. Simply slice it first, then wrap it tightly in plastic wrap or foil and store it in a freezer-safe bag.
Storage Tips:
- Room Temperature: Store the bread in a paper bag or breadbox for up to 2 days. After that, it may lose its crispiness.
- Freezing: Slice the bread and wrap it tightly before freezing. To thaw, remove slices as needed and toast them directly from the freezer, or let the whole loaf thaw at room temperature.
Tips:
- Flour Substitutes: You can experiment with other types of flour like whole wheat flour or spelt flour. Just be aware that these may require slightly more water and may change the texture of the bread.
- Adding Herbs or Seeds: Add fresh herbs like rosemary or thyme to the dough, or sprinkle sesame seeds, poppy seeds, or sunflower seeds on top for extra flavor and crunch.
- Preheat the Dutch Oven Well: Preheating the Dutch oven is crucial for creating a crispy crust. Be sure to allow it to heat for at least 30 minutes before baking.
- Steam: To enhance the crust even more, you can create steam by adding a small cup of water to the bottom of the oven (on a lower rack) when baking. This will help create a chewy, golden crust.
Conclusion:
Making **Dutch Oven Bread** at home is a fun and rewarding experience, and the result is a warm, crusty loaf that’s far superior to store-bought bread. The combination of a high-heat oven and the steam trapped inside the Dutch oven results in a perfect crust and an airy interior. Whether you’re a beginner or an experienced baker, this recipe is sure to deliver delicious, homemade bread every time. Enjoy it fresh out of the oven or with your favorite toppings!
